Recipe - Roti (Phulka)
(Flat Indian Bread)
Summary:
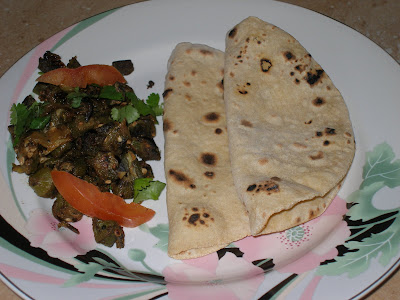
This is normally eaten with daals and curries. The same dough can be used make parathas too.
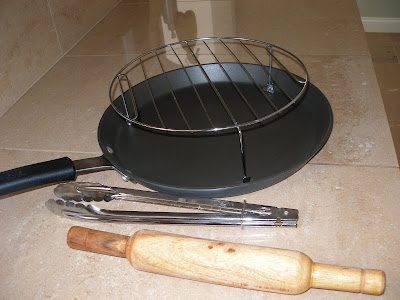
Essential tools for making Roti:
- Rolling pin
- Iron griddle or Tawa
- Grilling rack to place it on top of the stove to puff the roti
- Tongs
Ingredients for the making dough:
For desired results use standard measuring cups:
- Wheat flour - 1 heaping cup.
- Water - 1/2 cup (important to know the quantity)
- Salt - 1 pinch (optional)
- All purpose flour or wheat flour- 1/2 cup (to flip the dough while rolling the roti)
- Ghee (clarified butter) or butter for brushing the roti (optional)
Process:
Take one cup of wheat flour in a mixing bowl.
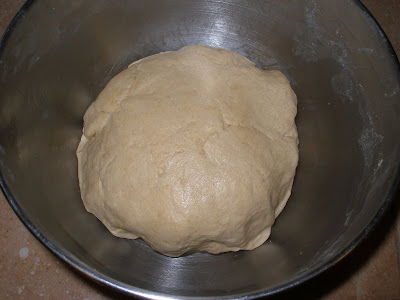
Slowly add water to the flour. It's better not to add all the water into the flour, you may want the dough a little tight (hard) for parathas. Knead it by hand or use any kind of dough mixer/electric appliance. I always do it the old fashioned way by hand, so you can't go wrong! After the dough is kneaded, take a teaspoon of oil in your hand and apply it all over the dough. This way the dough won't stick to the walls of the container the next time you use it, and you can store any leftover dough in any air tight container. Set the dough aside for 20-30 minutes before making roti.
Method to roll Roti:
Get the tools ready - Tawa on the stove with medium high temperature. Rolling pin to make/roll rotis. All purpose flour in a 3/4 plate to lightly flour the dough in between during rolling the roti. Grilling rack if you are not using a gas stove. Tongs to flip the roti on the tawa and on the grilling rack.
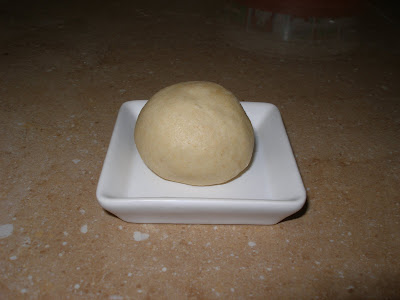
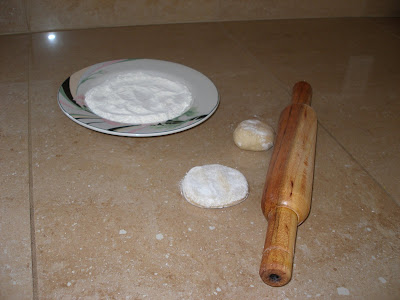
Make a small lemon size ball out of the dough.
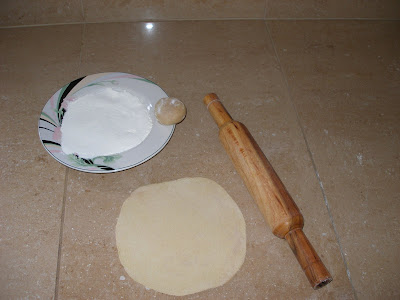
Slightly flatten the ball sized dough and dip the flatten ball in the all purpose flour plate which is placed in the side. Place it on the lightly floured/clean surface and slowly roll the dough in a circular motion from the center.
To prevent sticking of the roti dough when rolling, you can continuously rotate the dough on the surface (lift it up and throw it back down just like a frisbee). Remember not to fling it across the room! Continue rolling and lightly dust the roti with flour if the roti is sticking to the surface. Too much dusting may spoil the taste of the roti too. It is important to roll the dough on one side only. Make sure not to apply too much pressure while rolling. Try not to roll the roti too thin (if you're a beginner at this). Soon you will see the small ball of dough expand to 3 inches in diameter (just like a disc).
Method to cook Roti:
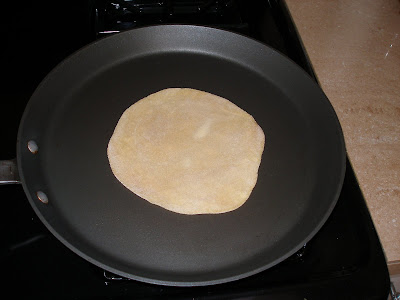
Preheat the tawa/cast iron pan on medium high. Transfer the ready roti on to the pan and wait for 10-15 seconds. You will see small bubbles forming on the roti.
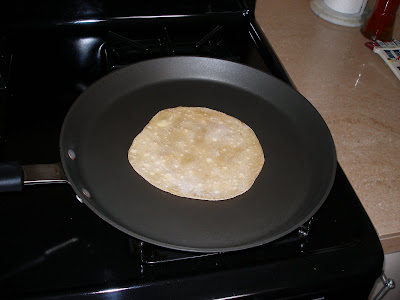
Flip the roti on to the other side and wait for 15 seconds.
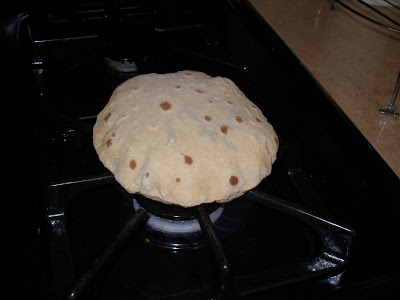
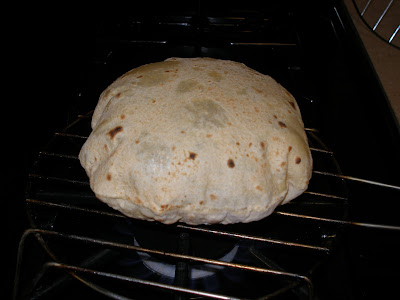
Now transfer the roti from tawa directly onto the medium-high to high flames of the gas stove. You will see the roti puffing up. Flip the roti onto the second side, just to make sure the roti is cooked well. Do not leave the roti too long on the flame or else it will burn.
Roti can also be puffed up on a grilling rack instead of the gas burner.
Transfer the roti into a plate and brush it with ghee. Rotis taste good when served hot.
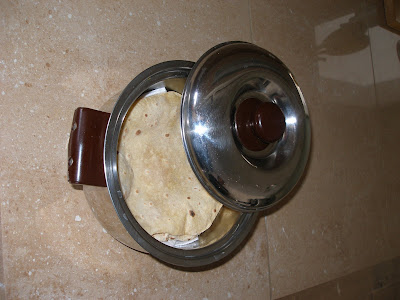
To retain the warmth of the rotis, you can store them in a casserole/hotbox and brush ghee on them to keep them moist and soft.


Comments